When it comes to electric sockets, safety is paramount. Whether you’re installing a new socket or replacing a damaged one, it’s important to follow proper procedures and precautions. In this guide, I will walk you through the step-by-step process of installing a new socket and provide essential safety tips for using electric sockets around your home.
Before we dive into the installation process, it’s crucial to understand the regulations surrounding socket installations. In the United Kingdom, domestic electrics are governed by the “Electrical safety: Approved Document P” of the Building Regulations. This document outlines the legal requirements for electrical installations in residential properties.
While the installation of completely new sockets should be carried out by qualified electricians, competent individuals can handle like-for-like socket replacements. However, special locations such as outdoor sockets and bathroom sockets always require the expertise of a qualified electrician.
Key Takeaways:
- Proper installation and maintenance of electric sockets are essential for home safety.
- Qualified electricians should handle completely new socket installations.
- Like-for-like socket replacements can be done by competent individuals.
- Outdoor and bathroom sockets should always be installed by a qualified electrician.
- Understanding the regulations outlined in “Electrical safety: Approved Document P” is crucial for socket installations.
Now that we have an understanding of the importance of socket safety and the regulations surrounding installations, let’s move on to the step-by-step guide for installing a new socket. It’s time to roll up our sleeves and get to work!
Step-by-Step Guide to Installing a New Socket
When it comes to installing a new socket, careful steps need to be followed to ensure a safe and effective installation. Here is a comprehensive guide to help you navigate through the process:
Step 1: Power Test and Safety Precautions
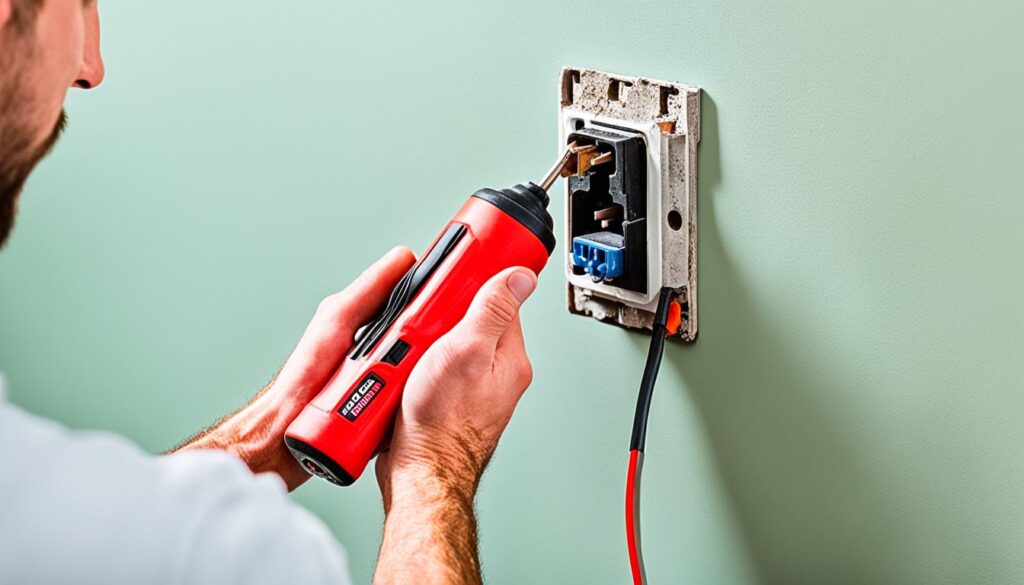
Before beginning the installation, always ensure your safety by switching off the power at the mains. This step is crucial to prevent any electric shock or accidents. Additionally, use a power test tool to confirm that the power is indeed switched off.
Step 2: Remove the Existing Faceplate
Once the power is switched off, remove the existing faceplate of the socket. This can usually be done by loosening the screws that hold it in place. Take note of the wiring arrangement at this stage.
Step 3: Inspect the New Faceplate
Inspect the new faceplate for any defects or damages. It is essential to have a new faceplate that is in good condition and compatible with your electrical setup. Take note of the location of the terminal screws for later attachment.
Step 4: Attach the Wires to the New Faceplate
Now it’s time to connect the wires to the new faceplate. Take each wire and attach it securely to the corresponding terminal screw. It is important to ensure that the wires are tightly secured to prevent any loose connections.
Step 5: Attach the Faceplate
Once all the wires are securely attached, carefully align the new faceplate with the socket and screw it into place. Ensure that the faceplate is aligned properly and attach it securely.
Step 6: Switch On the Power and Perform a Test
Now that the installation is complete, it’s time to switch on the power at the mains. Be cautious and vigilant during this step. Once the power is back on, use a plug tester to confirm that the newly installed socket is fully functional.
Congratulations! You have successfully installed a new socket. Remember to exercise caution and follow all safety measures when dealing with electricity. If you have any doubts or concerns, it is always advisable to consult a qualified electrician.

| Step | Description |
|---|---|
| Step 1 | Power test and safety precautions |
| Step 2 | Remove the existing faceplate |
| Step 3 | Inspect the new faceplate |
| Step 4 | Attach the wires to the new faceplate |
| Step 5 | Attach the faceplate |
| Step 6 | Switch on the power and perform a test |
Safety Tips for Using Electric Sockets
Ensuring the safety of electric sockets is crucial to protect your home and prevent hazardous situations. By following these safety tips, you can minimize the risks associated with electric socket usage:
- Avoid overloading: Overloading a socket by connecting too many devices can lead to overheating and electrical fires. Be mindful of the number of devices you plug into a single socket and distribute the load evenly.
- Check current rating: Before connecting multiple devices to an extension lead, check its current rating. Make sure that the combined total of the devices’ power consumption does not exceed the maximum current rating of the extension lead.
- Use multi-way bar extension leads: Instead of relying on block adaptors, opt for multi-way bar extension leads. These devices distribute the load across multiple sockets, reducing strain on the wall socket.
- Consider additional sockets: If you frequently find yourself relying on extension leads, it may be wise to install additional sockets. Consult a qualified electrician to ensure the installation is done safely and in compliance with regulations.
- Check for danger signs: Regularly inspect your sockets for any danger signs, such as smells of burning, sparks, scorch marks, or damaged/frayed leads. If you notice any of these signs, immediately stop using the socket and seek professional assistance.
By implementing these safety tips, you can maintain the integrity of your electric sockets and ensure the well-being of your household. Remember, when it comes to electrical safety, it’s always better to be proactive than reactive.

“Electricity is a powerful force. By heeding safety guidelines and practicing proper socket usage, you can harness its benefits while keeping your home safe.” – Electrical Safety Expert
How to Replace a Damaged Socket
When it comes to replacing a damaged socket, safety precautions are paramount. Following the correct procedures ensures a secure and efficient replacement process. Here’s a step-by-step guide on how to replace a damaged socket:
1. Isolate the Circuit
Before starting any electrical work, it’s crucial to isolate the circuit to prevent any accidents. Locate the circuit breaker or fuse box and switch off the power to the specific circuit you’ll be working on. This step ensures your safety as you replace the damaged socket.
2. Remove the Faceplate
After isolating the circuit, the next step is to remove the faceplate of the damaged socket. Use a screwdriver to loosen and remove the screws holding the faceplate in place. Gently pull the faceplate away from the wall to expose the wiring behind.
3. Note the Wiring
Before disconnecting any wires, it’s important to take note of the wiring configuration. This step helps ensure that you connect the wires correctly to the new faceplate. Pay attention to the colors of the wires and their corresponding terminals.
4. Connect the New Faceplate
Now it’s time to connect the new faceplate. Start by attaching the wires to their respective terminals on the new faceplate. Ensure that the wires are securely fastened by tightening the terminal screws. Double-check that the connections are tight and secure to avoid any future issues.
5. Check the Wiring with a Socket Tester
Once you’ve connected the new faceplate, it’s essential to verify that the wiring is correct. Use a socket tester to check if the connections are properly established. A socket tester will confirm that the wires are in the right positions and that the socket is functioning correctly.

6. Restore Power and Test
After ensuring that the wiring is correct, restore power to the circuit by switching it back on at the circuit breaker or fuse box. Test the new socket by plugging in a device or using the socket tester again. If the device powers on or the socket tester indicates correct wiring, you have successfully replaced the damaged socket.
Remember, safety should always be a priority when working with electrical installations. If you’re unsure about any step or encounter any difficulties, it’s best to consult a qualified electrician.
Conclusion
Proper installation and maintenance of electric sockets are essential for the safety of your home. By following the step-by-step installation guide and implementing safety tips, you can ensure that your sockets are functioning properly and minimize the risk of accidents or damage.
Remember, when installing new sockets, it is important to adhere to the safety precautions outlined in the guide. If you are unsure or uncomfortable with the process, it is always best to consult a qualified electrician for assistance. They have the expertise and knowledge to carry out installations safely and efficiently.
Additionally, practicing safe usage of electric sockets is crucial. Avoid overloading sockets and always check the current rating of extension leads. Consider installing additional sockets if you frequently rely on extension leads to reduce the strain on your wall socket. Regularly inspect your sockets for any danger signs such as burning smells, sparks, scorch marks, or damaged leads.
By prioritizing proper installation, maintenance, and safety, you can ensure that your electric sockets serve their purpose effectively while keeping your home and loved ones protected. Don’t hesitate to reach out to a professional if you have any concerns or need assistance with electric socket installation or replacement.

