Are you looking to enhance the functionality of your kitchen island? Installing an electrical outlet can be a game-changer when it comes to convenience and versatility in your kitchen space. The good news is that you don’t have to be an expert to tackle this project. With the right tools, materials, and a little guidance, you can successfully install a kitchen island outlet on your own.
In this guide, I will provide you with step-by-step instructions on how to install an electrical outlet in a kitchen island. You’ll learn about the necessary tools and materials, compliance with electrical codes, and cost considerations. By the end of this guide, you’ll have the knowledge and confidence to take on this DIY project and enhance your kitchen’s functionality.
Key Takeaways:
- Installing an electrical outlet in a kitchen island can improve its functionality and convenience.
- You can complete this project yourself with the right tools and materials.
- Ensure compliance with electrical codes to ensure safety and avoid issues in the future.
- The estimated cost for installing a kitchen island outlet is usually under $100.
- Following the step-by-step installation guide will help you complete the project successfully.
Project Details and Cost
When considering electrical outlet options for kitchen islands, it is important to be aware of the kitchen island outlet code requirements and the cost of installation. This section provides project details and an overview of the associated expenses.
Installing a kitchen island outlet is a moderately difficult project that can typically be completed in around 3 hours. While the installation process itself is not overly complex, it is crucial to ensure compliance with electrical codes to guarantee safety and functionality.
The cost of kitchen island outlet installation can vary depending on the type of outlet chosen. On average, the expense is typically under $100. It is recommended to budget accordingly, keeping in mind the potential additional costs for any required materials or tools.
One important consideration when installing an electrical outlet in a kitchen island is adhering to the National Electrical Code 210.52(C)(2) regulations. This code specifies the number of receptacles required based on the square footage of the island. Compliance with these requirements ensures that your kitchen island outlet meets the necessary safety standards.
Project Details Summary
- Estimated installation time: around 3 hours
- Project difficulty: moderate
- Typical cost: under $100
By following the kitchen island outlet installation code requirements and carefully considering the associated project details and costs, you can successfully enhance the functionality and convenience of your kitchen space.

Tools and Materials
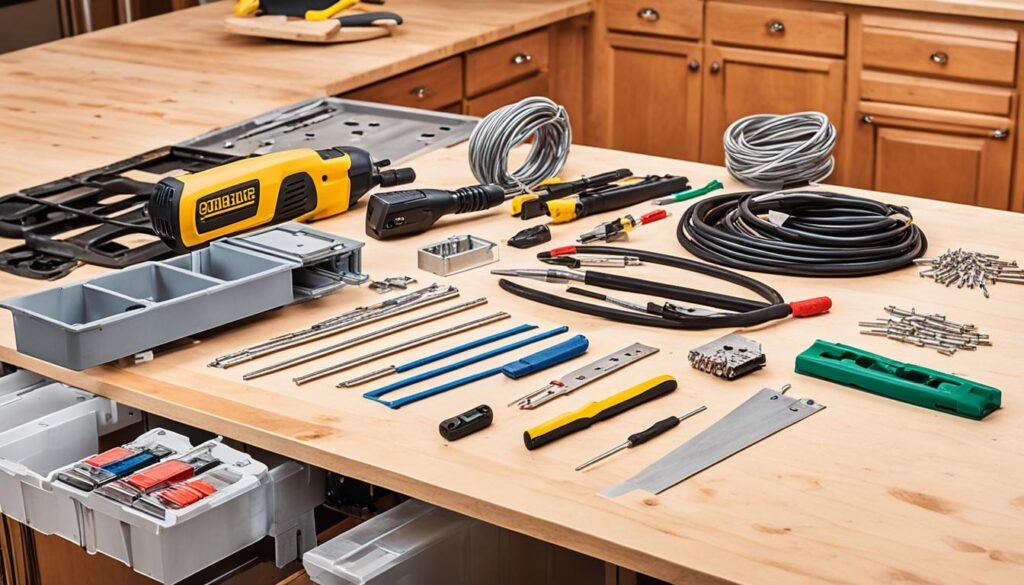
When it comes to installing a kitchen island outlet, having the right tools and materials is crucial. Here is a list of what you will need for this project:
- Screwdriver
- Non-contact voltage tester pen
- Electrical multimeter
- Tape measure
- Level
- Power drill
- BX cable cutter
- Wire strippers
- Lineman’s pliers
In addition to these tools, you will also need various materials to complete the installation:
- Metal electrical boxes
- Metal-clad wire (BX)
- Cable connectors
- Cable bushings
- Wire nuts
- Outlets
- Outlet covers
Having these tools and materials on hand will ensure that you have everything you need to successfully install a kitchen island outlet.

Step-by-Step Installation Guide
Installing an electrical outlet in a kitchen island may seem like a daunting task, but with the right approach and attention to detail, it can be done successfully. Follow these step-by-step instructions to ensure a smooth and safe installation process:
- Plan the outlet placement: Before you begin, determine the ideal location for your kitchen island outlet. Consider accessibility, proximity to appliances, and aesthetics. It is recommended to position the outlet within easy reach of the countertop surface.
- Gather the necessary tools and materials: Make sure you have all the required tools and materials at hand, including a screwdriver, non-contact voltage tester pen, electrical multimeter, tape measure, level, power drill, BX cable cutter, wire strippers, lineman’s pliers, metal electrical boxes, metal-clad wire (BX), cable connectors, cable bushings, wire nuts, outlets, and outlet covers.
- Shut off the power: Safety should always be a priority when working with electrical installations. Begin by turning off the power at the main circuit breaker to ensure that no electricity is flowing through the wires you’ll be working with. Use a non-contact voltage tester pen to confirm that the power is indeed off.
- Determine the wire routing: Carefully plan the route for the electrical wiring, taking into account any obstacles or obstructions within the island structure. This will help ensure a neat and efficient installation.
- Measure and cut the BX cable: Use a tape measure to measure the required length of the BX cable, taking into account the wire routing determined in the previous step. Use a BX cable cutter to trim the cable to the appropriate length.
- Strip the wires: Strip the outer sheath of the BX cable to expose the individual wires inside. Use wire strippers to remove approximately 3/4 inch of insulation from each wire end.
- Connect the wires: Attach the BX cable to the metal electrical box using cable connectors. Connect the wires to the outlet using wire nuts, ensuring that the hot wire (usually black) is connected to the brass screw terminal, the neutral wire (usually white) is connected to the silver screw terminal, and the ground wire (usually green or bare copper) is connected to the green screw terminal.
- Secure the outlet: Carefully place the outlet inside the metal electrical box and secure it in place using the provided screws. Ensure that the outlet is level and flush with the surface of the island.
- Test the connection: Once the outlet is securely installed, turn the power back on at the main circuit breaker and use an electrical multimeter to verify that the outlet is producing the correct voltage.
- Install the outlet cover: Finally, attach the outlet cover to the metal electrical box using the provided screws. This will provide additional safety and complete the overall appearance of the installation.
By following these step-by-step instructions, you can confidently install an electrical outlet in your kitchen island. Remember to always prioritize safety and consult a professional electrician if you have any doubts or concerns.

Conclusion
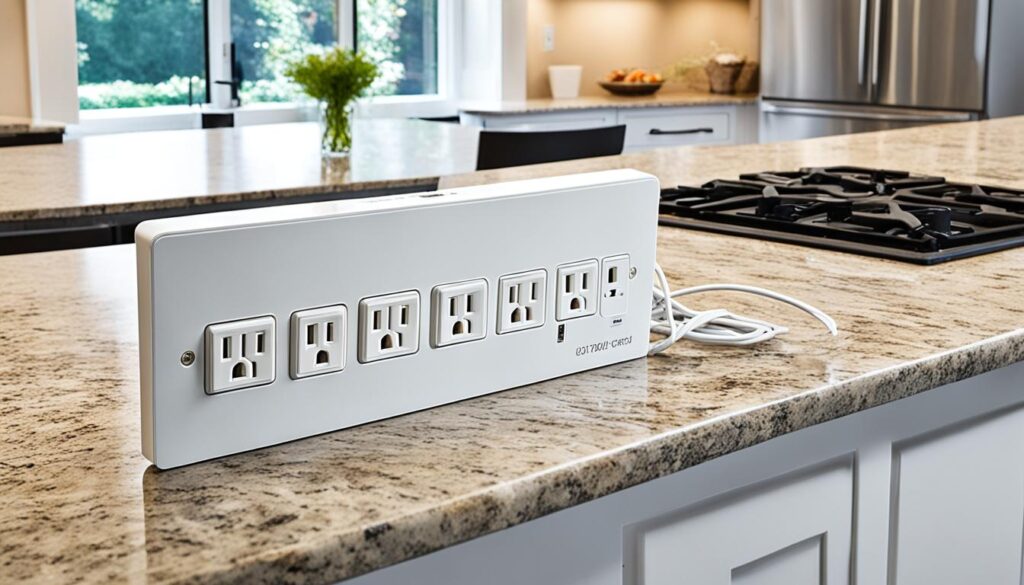
Installing an electrical outlet in a kitchen island can greatly enhance the functionality and convenience of your kitchen space. Whether you prefer a USB outlet for charging devices, a recessed outlet for a sleek look, or a pop-up outlet for easy access, there are various electrical outlet options available for kitchen islands.
It is crucial to follow proper installation steps to ensure safety and compliance with electrical codes. By carefully planning your project, gathering the necessary tools and materials, and executing each step accurately, you can successfully install a kitchen island outlet on your own.
However, it is important to prioritize safety throughout the process. If you are unfamiliar with electrical work or have any concerns, it is advisable to consult a professional electrician. They can provide expert guidance and assistance, ensuring that the electrical outlet installation is done correctly and meets all necessary regulations.

